Cancel
Start searching

This search is based on elasticsearch and can look through several thousand pages in miliseconds.
Learn more

Originally developed by the TYPO3 community, the open-source CMS Neos is now being further developed by an independent and growing community. Thanks to Neos’s complete redesign, the CMS sets itself apart from existing content management systems through innovative concepts and the use of state-of-the-art technology.
These modern approaches impact all aspects of working with the CMS. Editors can edit content directly on the website. Because there is no abstraction provided by a “ Backend” module, editors have direct control over how their content appears even as they are editing it.
The powerful content repository that Neos uses to manage content internally gives integrators the ability to customize content types to meet specific client requirements and define them in a semantically meaningful way. Thanks to the endless possibilities offered by the YAML definition language for content types, logic description via Eel and Flowquery, and the Fluid template engine, it is rarely necessary to resort to third-party extensions or custom development in PHP.
If custom PHP development is still required for complex requirements, developers can expect a modern, clean, and modular codebase. Flow, the application framework underlying Neos, supports programmers in creating high-performance applications using modern paradigms such as Domain-Driven Design and aspect-oriented programming.
Admittedly, however, getting started with Neos could be made much easier for newcomers. That is exactly what I aim to achieve with this multi-part workshop, with new installments scheduled to be released every two weeks. In this article, we’ll start by setting up a local development environment, as well as installing the CMS and describing its basic structure. In the following articles, we’ll set out to design our own website with our own content types.
Before we can begin the actual installation of Neos, we first need an environment that meets all the requirements for the CMS. Such a development environment—consisting mainly of a web server and a database server, as well as other tools and configurations—is a complex system that is difficult to set up on your own computer’s operating system. Therefore, we’ll be working with a virtual system here. To do this, we’ll use the VirtualBox virtualization software together with the Vagrant management tool.
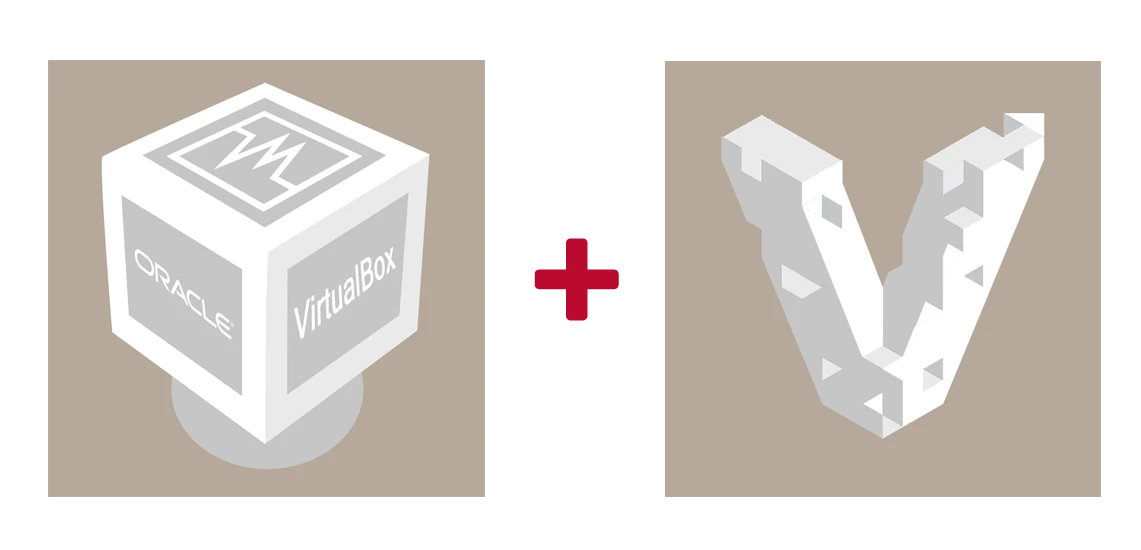
Using virtualization software offers several advantages. The files on the host system remain unchanged—so we can experiment without running the risk of damaging other applications on our operating system. The virtual environment we use can be recreated consistently, and in the event of a misconfiguration, we can start over from scratch at any time. This also means we’re working in an environment that exactly matches the one we’ll later encounter on the production server.
First, we’ll download the latest versions of VirtualBox and Vagrant that are compatible with our operating system, and run the installation programs for VirtualBox first, followed by Vagrant.
Once the virtualization tools have been successfully installed, we’ll be ready to download and launch the Neos Box. The box we’ll be using in this workshop is based on the software we also use for our hosting and is particularly well-suited for working with modern PHP-based CMSs. Built on the open-source FreeBSD operating system, it includes the latest versions of the necessary server software. You can find all the details about the box on this page.
To download the Neos Box, open a console and create a new folder in the home directory of the host system, which we'llname vagrant-neosbox:
mkdir ~/vagrant-neosbox
cd ~/vagrant-neosboxUnfortunately, in this article we can only describe how to set up the Neos Box on Linux and macOS X, since these are the operating systems we use every day and are familiar with. However, Windows can also be used as a host platform for our Vagrant Box. You can find a detailed guide for this operating system here, for example.
In this folder, we run the following command:
curl -O https://github.com/punktDe/proserver-neos-box/blob/master/Vagrantfile && vagrant upThis downloads a preconfigured Vagrantfile that contains all the settings for our box. Running ` vagrant up ` then downloads the box from our server and starts it. This may take a few minutes.
Once the box is up and running, we can immediately open a shell on it using SSH.
The command:
vagrant sshWhen run in the same directory as the Vagrantfile, it handles the login for us.
Congratulations! We’ve now set up the perfect environment for working with Neos.
Using the `vagrant` command, you can start (vagrant up), stop (vagrant halt), or restart (vagrant reload) the box at any time.
With Vagrant Manager, this is even more convenient on a Mac.
Now we can start downloading the Neos packages. In the terminal, we navigate to the web server directory we prepared earlier and delete the existing "TestPage" file there. Using git, we clone the latest stable version of the Neos Base Distribution.
The Package Manager will then handle downloading the necessary PHP sources. This process also takes just a moment.
cd /var/www
rm -rf Web
composer create-project neos/neos-base-distribution .
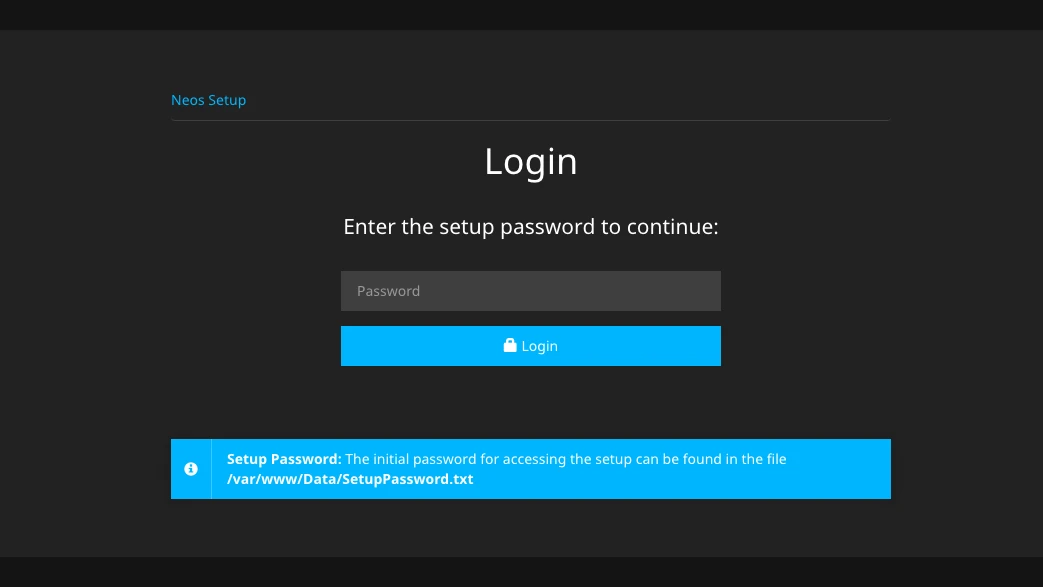
Once the PHP packages have finished downloading, we can now use any browser to access the setup page for our box at http://172.17.28.28/setup and follow the individual installation steps.
First, we need to authenticate using the password, which we set via the console using the command:
cat /var/www/Data/SetupPassword.txtreceived.
The page that appears after a successful login shows an overview of the installed graphics libraries. Click Next to proceed to the database configuration. Here, enter “neos” for both the username and password, and select the database of the same name at the bottom.
On the next page, we create our initial administrator user.
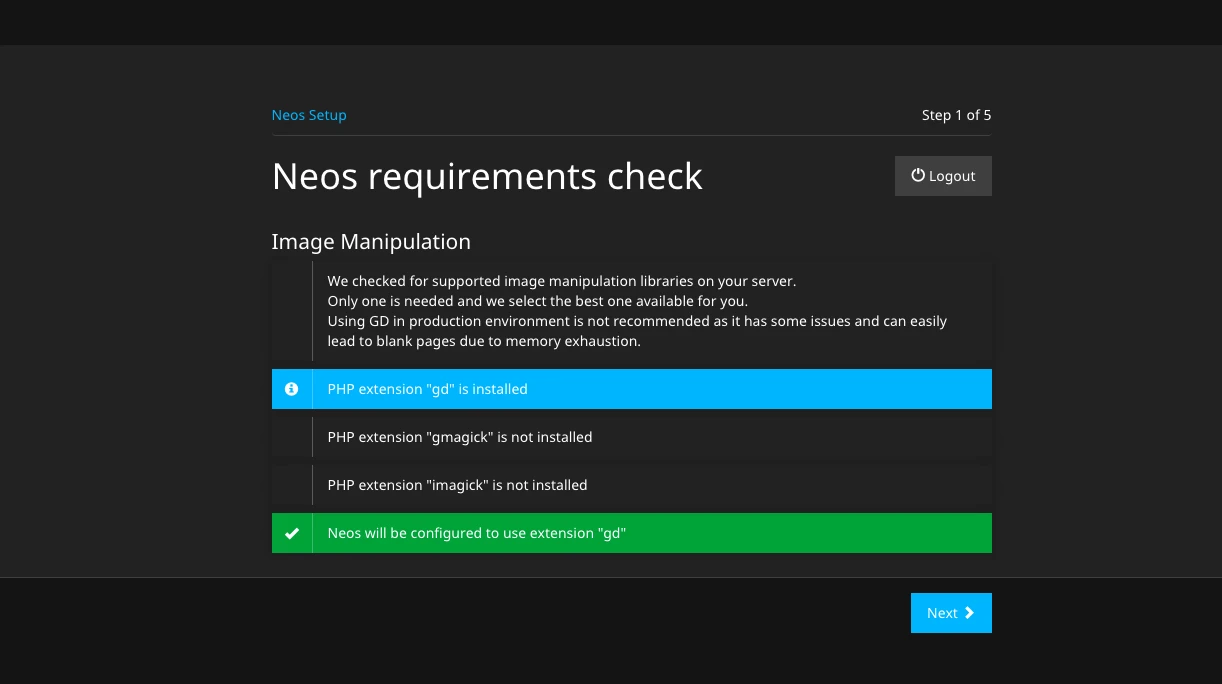
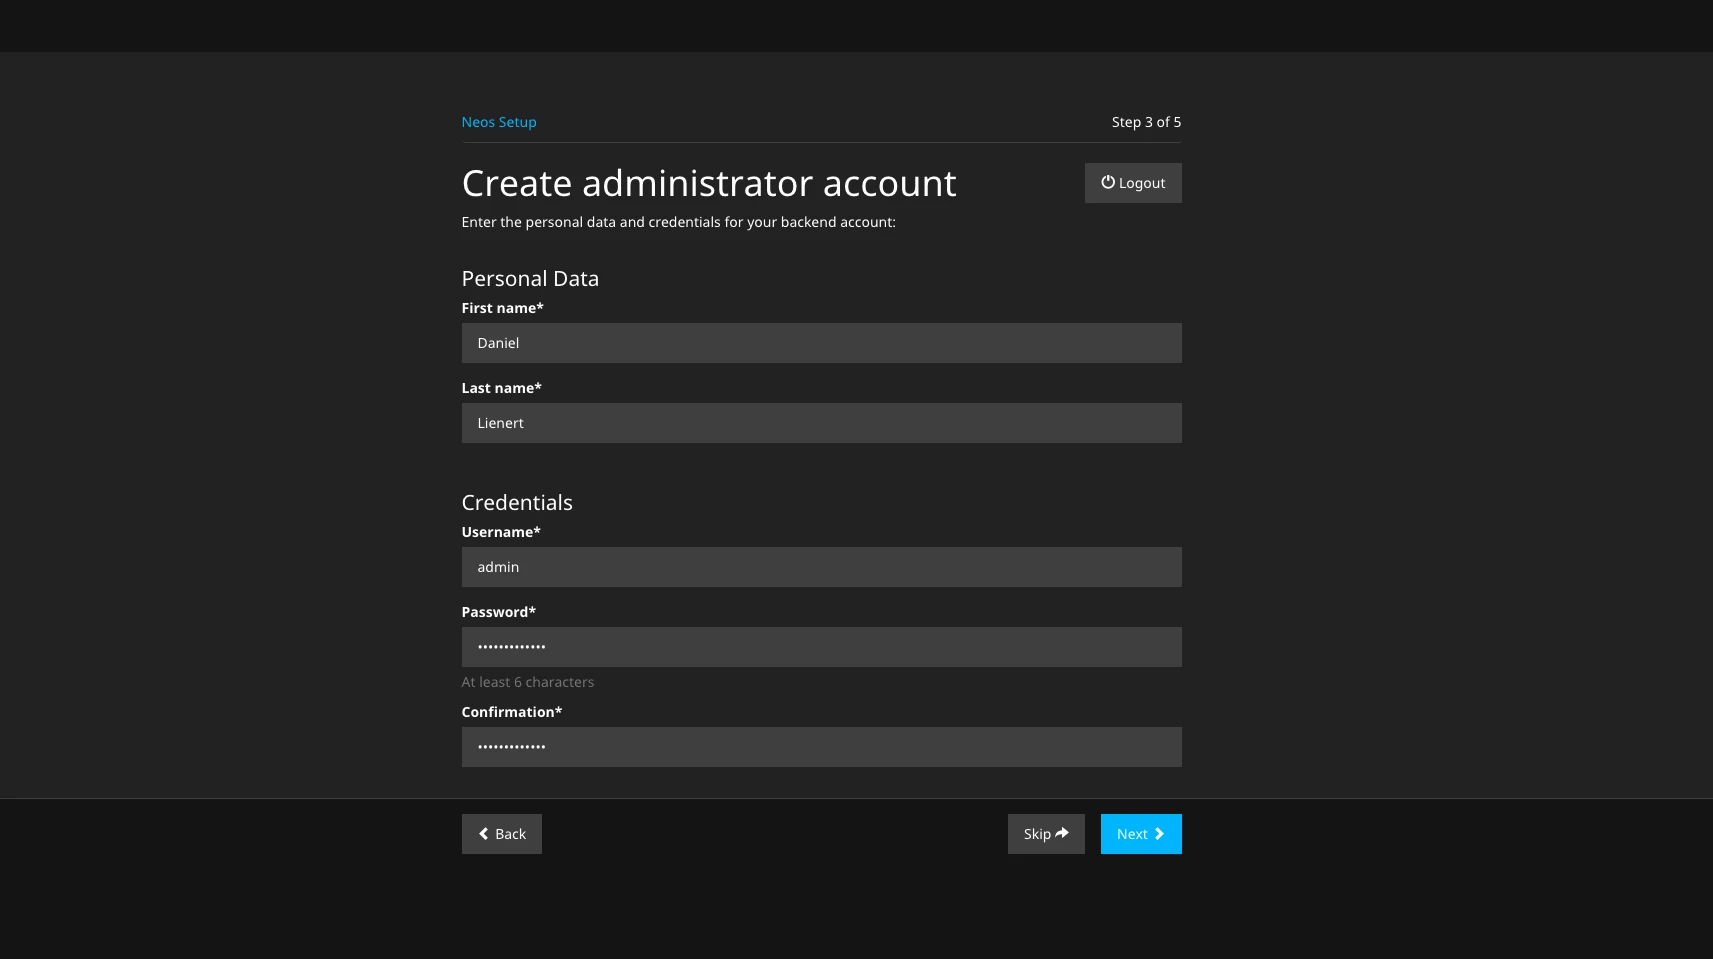
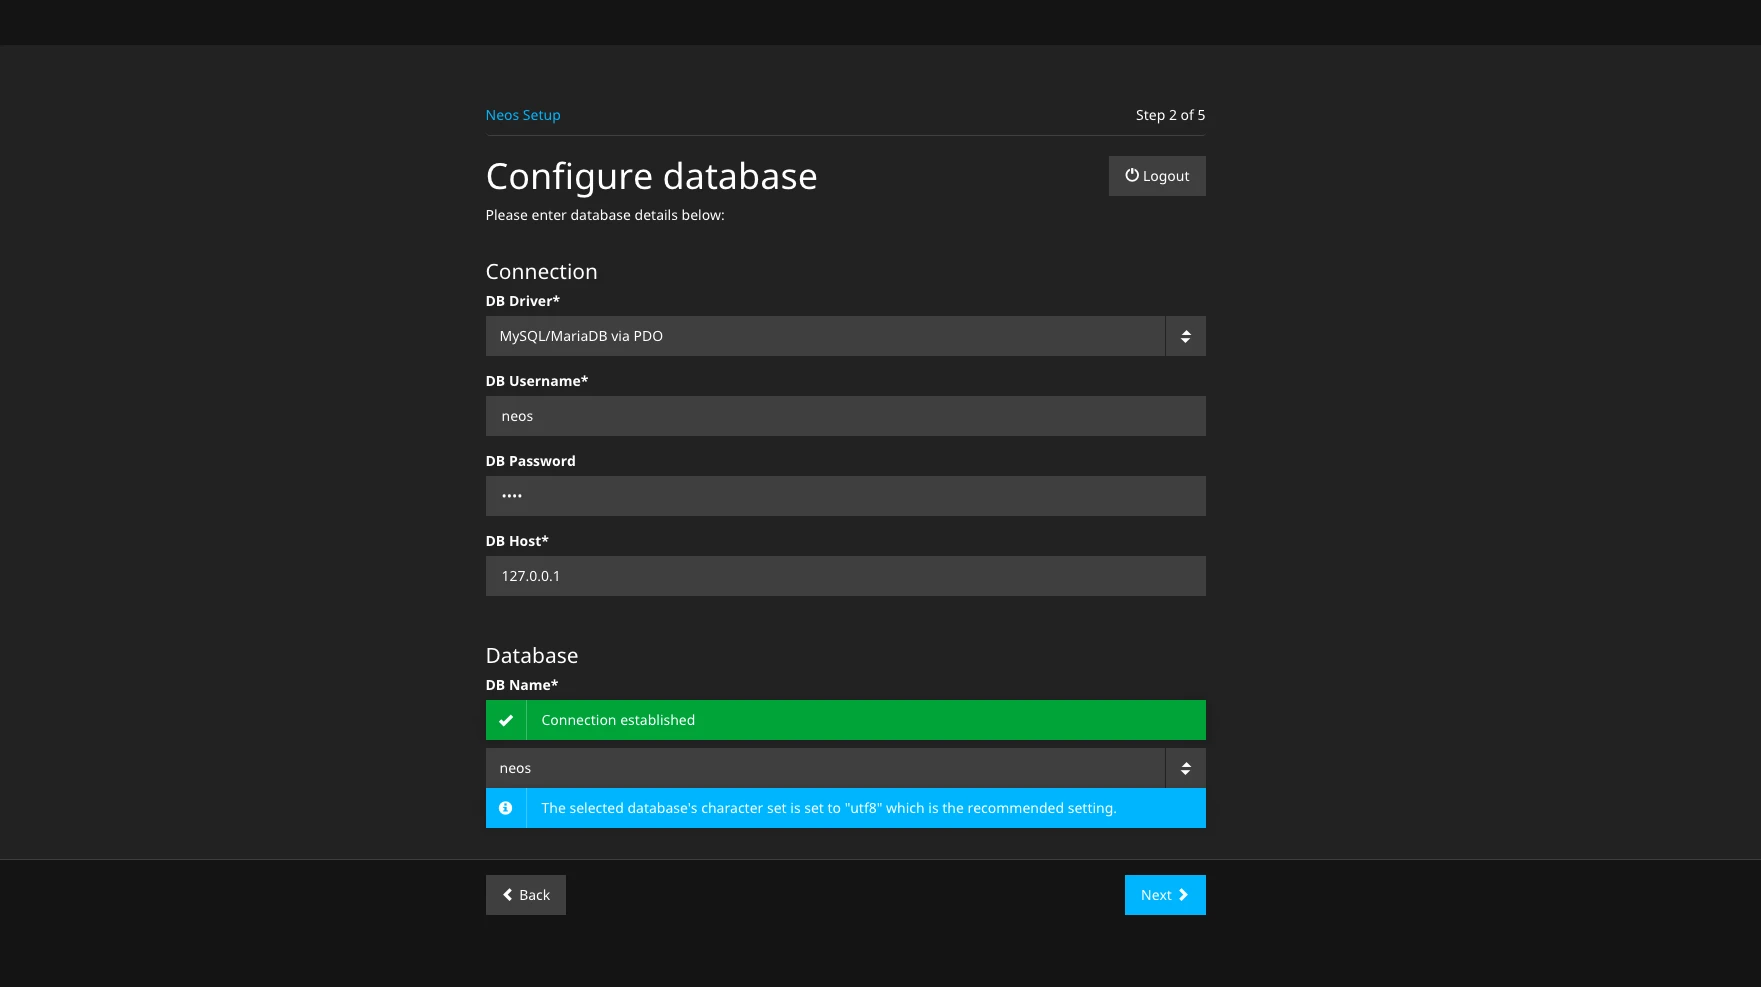
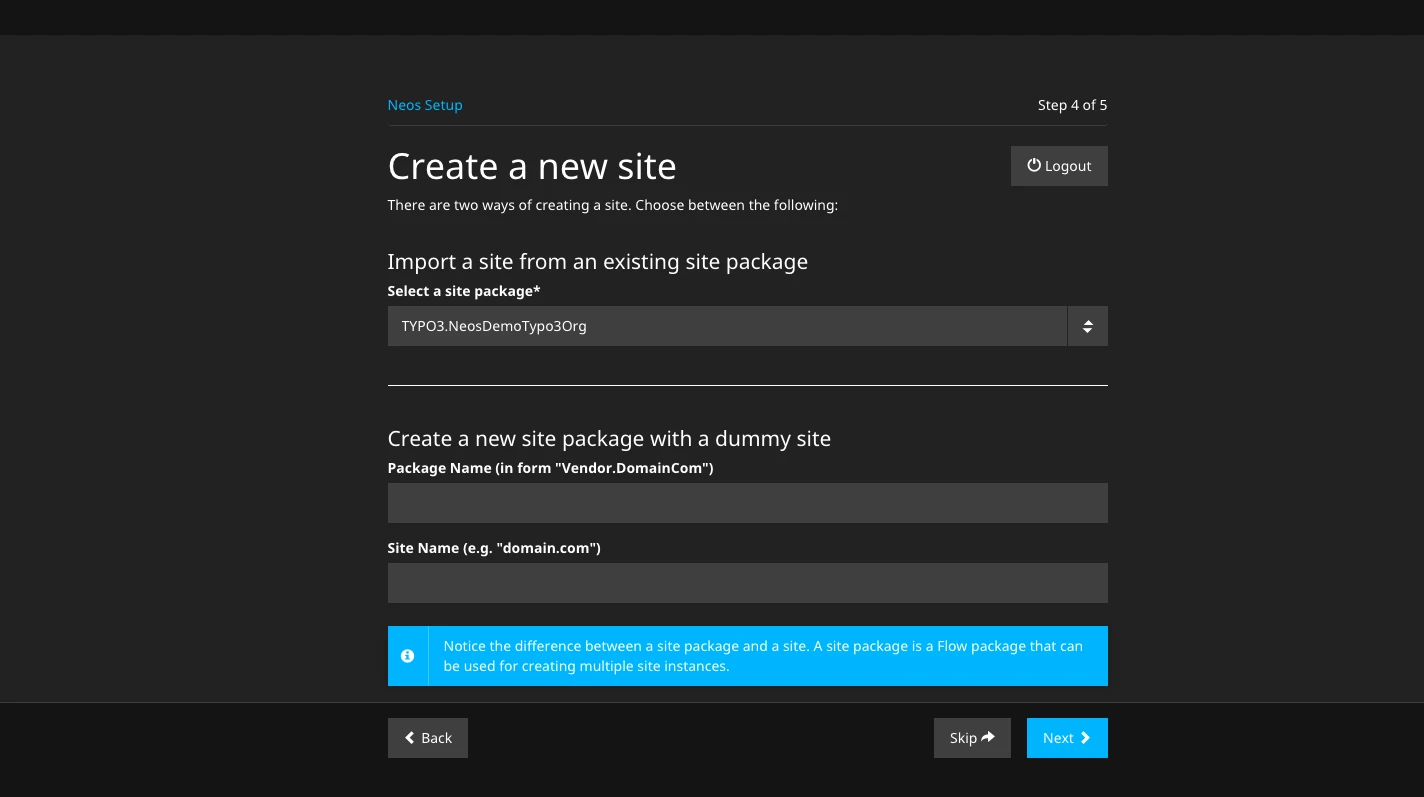
In the next step, we have the option to either install the demo site package included in the base package or create a new one.
A site package contains all the files that make up a page’s layout and basic functions, such as HTML, CSS, TypoScript, and graphics.
To make it easier to get started with the system, we’ll import the preselected demo package and complete the installation process by clicking “Next.”
This completes the installation. Clicking "Go to the Backend" takes us to the Backendlogin screen, where we can log in using the user account created during setup. Later, we can access Backend at any time by appending /neos to the page's URL.
The following is a brief overview of the features of the Backend. I will discuss some of the modules in more detail in future articles.
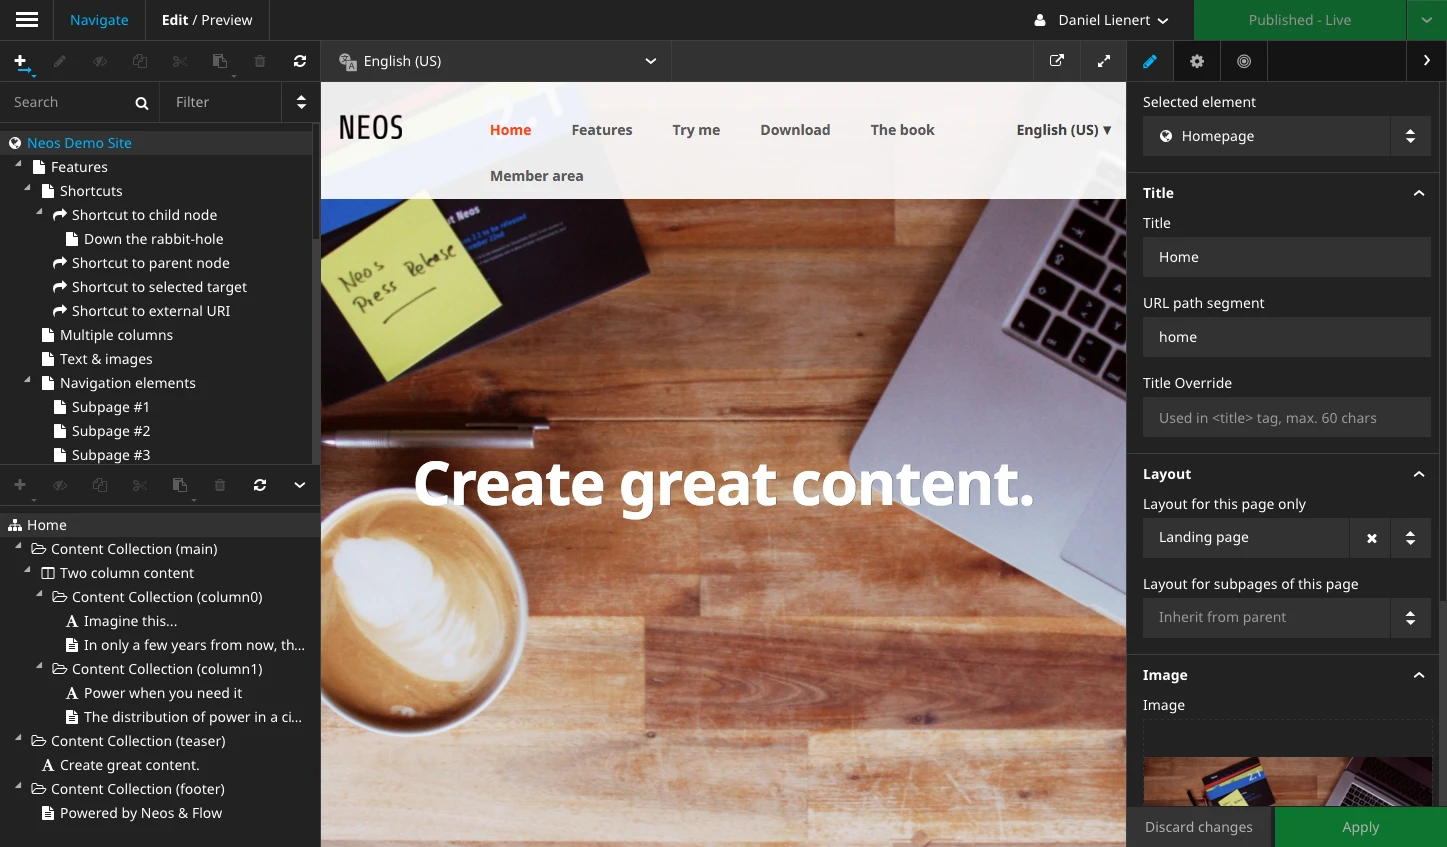
When logged in to Backend, the page appears framed by the editing elements of Backend. Let’s start with the left sidebar, which is used for navigation and organizing the content. The upper section is dedicated to the pages. Using the toolbar located above the page tree, you can create new pages and copy, hide, or delete existing pages. Below that are search and filter elements that directly filter the entries in the page tree. Of course, you can also navigate directly to the pages via an existing menu within the content.
At the end of the sidebar, you can collapse the page structure tree, which displays all content elements of the page in a hierarchy. Although all the operations shown here can also be performed directly within the content, working in the structure tree can be more organized depending on the use case. For example, rearranging the content is easier to accomplish here.
The middle section—the editor’s main focus—displays the page’s content. When you click on an element—such as a piece of text—you can edit it directly inline. When an element is selected, controls appear at the top of the content that directly affect the selected content. Above that, we see a drop-down menu that allows us to edit different dimensions of the content. In our case, this allows us to edit content in other languages.
The so-called Inspector is located in the right-hand sidebar. It displays the properties of the selected page or content that cannot be edited directly inline. These include properties such as the element type, the start and end dates for the content’s time-based restrictions, and meta information, such as the title and alt tag of an image.
Workspaces
This module displays a list of available workspaces. This list includes the currently logged-in user’s personal workspace, as well as all shared workspaces. New shared workspaces can be created. Using the “Review” button, changes to a workspace can be viewed and approved.
Media
All media used in Neos can be managed via the Media module. Media can be uploaded by selection or drag-and-drop and tagged to maintain an overview. Search, filter, and sort options make it easy to find the desired media, even in large datasets.
The modules under "Administration" are likely to be accessed only rarely when working with Neos. Therefore, I'll keep the description here brief.
If you have any comments or questions about the content of the articles, feel free to use the comment section at the bottom of the page.
Ready to continue? Click here for the second part of the workshop, where we’ll start building your own site with Neos.
I hope you have fun trying out Neos!
It’s just as easy to install Neos on our proServer as it was to install it on your virtual machine!
We’d be happy to give you a quote! Email us at vertrieb@punkt.de
We’d be happy to advise you! Email us at vertrieb@punkt.de